Blogging with Codespaces
Inspiration
I started this site for a few reasons:
- I work at a weird and fun intersection of highly regulated, compliance-focused organizations and technology. It’s not uncommon for me to search Google, StackOverflow, and GitHub and come up empty-handed (or worse, with ancient unanswered posts or issues). Maybe this will help someone else later on.
- It gives me a reason to learn some basic “web things”. As a super backend-oriented person, this is a part of technology I don’t have a lot of direct experience with. That’s why this site looks so basic - I’m still learning.
- I want to establish a publicly-accessible history of (something approaching) competence. My career has been shaped pretty profoundly by not looking like I belong in technology / know what I’m doing / etc. Maybe this will help me later on.1
However, learning how to manage Ruby dependencies wasn’t one of those reasons.
Getting Started
This is a webpage hosted in GitHub Pages and built with Jekyll - there’s nothing special going on here. The content is hosted in my profile repository2, but it could be literally any other repository. There’s tons of guides about setting up a custom domain, picking a theme for Jekyll, etc. - so I picked a theme to start with and installed Ruby on my laptop, then went to start installing my dependencies only to get this fun error:
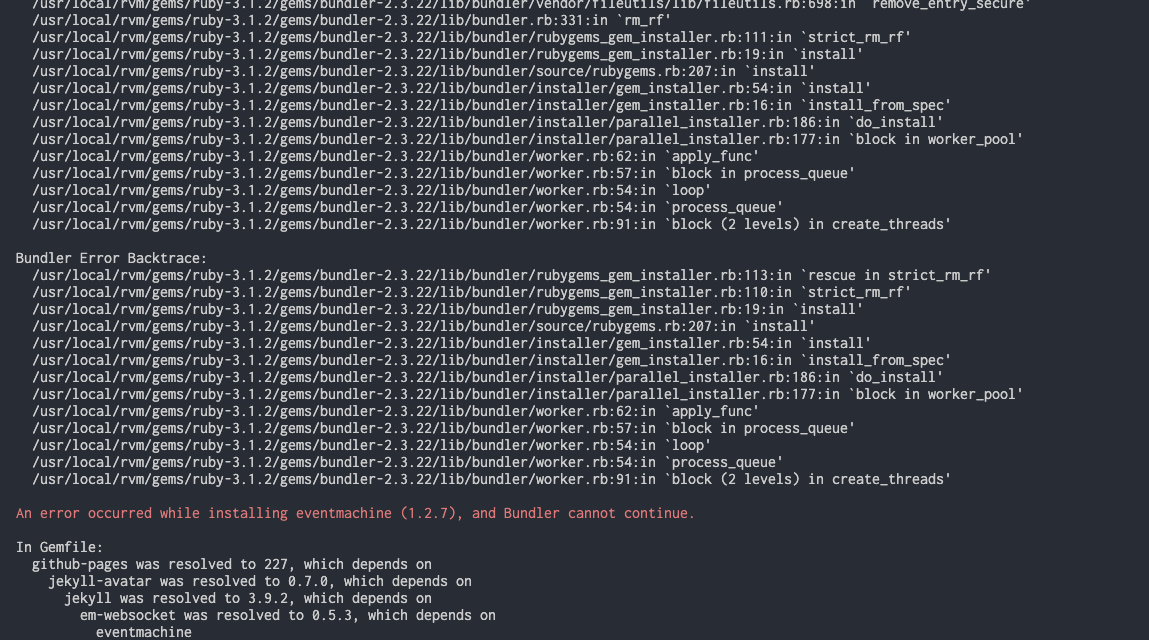
Turns out a lot of the Jekyll tutorials were written for Ruby 2.x and when you use (what’s now default in Homebrew??) Ruby 3.x, you need to add the webrick Gem (link ) to resolve the dependencies and run unprivileged. This wasn’t obvious to me at the time, but I see it clearly now in the official documentation .
Having not worked with Ruby much before, I did the (not smart) thing where I got an error running bundle and then just ran it as sudo instead - which worked! Until it very much did not work because having some local dependecies owned by root and not others causes all sorts of headaches. I use Python quite a bit, so I recognized the problem and didn’t want my Ruby environment to look like my laptop’s Python mess3. My local environment can’t update itself without blowing the whole thing up.
It’s important to have a fast feedback loop while learning - seeing the changes to the site’s theme and layout and all that instantly and without having to commit, push, and rebuild/redeploy the website. Add that my local environment starts getting way out of drift with the webpage that gets built and it’s no longer fun to learn and build something.
Enter GitHub Codespaces and custom devcontainers .
Using Codespaces (the slightly harder way)
When a repository is opened in a Codespace without a pre-defined devcontainer, you’ll get a default image that has tons of stuff in it. It doesn’t automatically install the dependencies and start my website though, so I had to remember the commands to do this every time I want to mess with it. By adding a small ~/.devcontainer/devcontainer.json file, I’m able to have all of this done for me in a smaller image that only contains Ruby and not the entire kitchen sink of other popular languages/frameworks. The full file is below, with comments in-line:
1
2
3
4
5
6
7
8
9
10
11
12
13
14
15
16
17
18
19
20
21
22
23
24
25
26
27
28
29

{
  // Name this container, not very useful in a small project, but very useful if
  // you have multiple containers in a larger and more complicated project
  "name": "Jekyll website",

  // Base image to use, similar to the `FROM` directive in a Dockerfile
  "image": "mcr.microsoft.com/vscode/devcontainers/ruby:3-bullseye",

  // Add `git-lfs` to store PDFs of presentations, GIFs, etc.
  "features": {
    "git-lfs": "latest"
  },

  // What ports to open (privately to me) and giving them human-readable names
  "forwardPorts": [4000],
  "portsAttributes": {
    "4000": {
      "label": "Website"
    }
  },

  // After creating the container, what command to run.  In this case, it
  // installs dependencies.  This only needs to happen once.
  "postCreateCommand": "bundle",

  // After attaching to the container, start the web server.  This needs to
  // happen every time I attach to it.
  "postAttachCommand": "bundle exec jekyll serve --host 0.0.0.0"
}
You should be able to copy/paste this file as a starting point for most basic Jekyll sites. There’s many more base images to use and layer together to fit your project’s needs - the official list is in this repository . I created a multi-container application example here to show off more complicated features available in devcontainers (documentation ). As for this project, it’s a relief to not have to mess with dependencies on my laptop every time I want to learn a little something new.
Disclosure
I work at GitHub as a solutions engineer at the time of writing this. All opinions are my own.
Footnotes
-
Many thanks to Keith for pushing me out of my comfort zone here and sending me this piece by Troy Hunt - Why online identities are a smart career move , Sept 2009. ↩
-
You can do this too! More on profile repositories in GitHub’s documentation . ↩
-
Relevant XKCD comic - https://xkcd.com/1987/ ↩