Blogging with Codespaces, part 2
I can’t believe I’ve been doing this whole blogging thing for six months now!
In those six months, my initial setup is still working well. I found a big pain point with how I’d set this up versus how I like to work though - because I put the site in my public profile repo , there’s no such thing as a private thinking. 😱
I’m not comfortable enough to draft publicly - at least not for writing. Coding as a work-in-progress feels totally normal … weird, huh? Since some of these posts are five or six thousand words, the lack of drafts is getting difficult to live with! 😬 😅
I want to keep the public stuff here and add another private repository to my Codespace that’ll hold my drafts, thoughts, and other inspirations for later. So let’s add a private repository to our Codespace to write in, then copy over blog posts into this public repo once it’s (more or less) done.
Adding another repository to a Codespace
Turns out this was trickier than expected. I’d thought that with the support for microservices and monorepos , breaking the 1:1 relationship between repository and Codespace would make it super easy. It did, just not for my use case.
I keep my drafts, notes, ideas, and other such stuff in a private repository. It’s all things vaguely related to tech, not exclusively my current job/role/employer. I’ve also turned it into a vault for Obsidian - a simple git repo and offline Markdown is great on any device. Let’s add that to this blog as a private drafts store to play around with formatting, add pictures, etc., to mostly final drafts.
First, give the public repo Codespace access to the private repository. Edit the ~/.devcontainer/devcontainer.json file to include the following (swapping).
1
2
3
4
5
6
7
8
9
10
11
12

"customizations": {
  "codespaces": {
    "repositories": {
      "some-natalie/work-stuff": {
        "permissions": {
          "contents": "write",
          "pull_requests": "write"
        }
      }
    }
  }
}
Next, relaunch the Codespace and grant it the new permissions (the docs , if it helps).
Now it’s available to clone without having to store credentials, configure git, clone it, etc. Buuuuut, nothing is cloned by default … so I’d have to set up git and manually clone them to the same place every time. Not going to happen. 😆
1
2
3
4
5
6

$ ls -la /workspaces/
total 16K
drwxr-xrwx+  5 vscode root   4.0K Apr 06 02:23 ./
drwxr-xr-x   1 root   root   4.0K Apr 06 02:22 ../
drwxr-xr-x+  4 vscode root   4.0K Apr 06 02:15 .codespaces/
drwxrwxrwx+ 11 vscode root   4.0K Apr 06 02:24 some-natalie/
Let’s automatically clone every repository that we give our Codespace access to. Add a script to ~/.devcontainer/post-create.sh that will clone each repo using the automatic git credentials that we just authorized.
1
2
3
4
5
6
7
8
9
10
11

#!/bin/bash
set -e

# Get the list of other repositories from devcontainer.json using jq
REPOS=$(jq -r '.customizations.codespaces.repositories' .devcontainer/devcontainer.json | jq -r 'keys[]')

# Clone the other repos
for repo in $REPOS; do
    repo_name=$(echo "$repo" | cut -d'/' -f2) # split the repo name from owner
    git clone https://github.com/"$repo".git /workspaces/"$repo_name"
done
Make sure it’s executable and add it to our devcontainer.json file as (one of) the postCreateCommand scripts.
Now the repositories are cloned on creation, but not updated in the workspace - meaning I’ll have to add them one by one to my workspace. That’s simply too much work. This is where there’s a bit of a compromise. The .code-workspace file that works great in VSCode on a local machine doesn’t load correctly in a Codespace (or regular devcontainer for that matter), so we’re going to add another script to do this.
Create a script called ~/load-workspace.sh and add the following:
1
2
3
4
5
6
7
8
9
10
11

#!/bin/bash
set -e

# Get the list of other repositories from devcontainer.json using jq
REPOS=$(jq -r '.customizations.codespaces.repositories' .devcontainer/devcontainer.json | jq -r 'keys[]')

# Open the other repos
for repo in $REPOS; do
    repo_name=$(echo "$repo" | cut -d'/' -f2) # split the repo name from owner
    code-insiders --add /workspaces/"$repo_name"
done
Swap code-insiders for code if you want to use the insider’s edition of VS Code instead. Weirdly enough, code doesn’t exist at the creation/start/attach points of the lifecycle so it must be run by the user after first attach. We also want jekyll to run on every attach as well, starting our webserver.
Lucky for us, each of these lifecycle points supports parallel commands as a first class citizen. Here’s the snippet of our devcontainer.json file showing our finished configuration:
1
2
3
4
5
6

  "postCreateCommand": {
    "bundle": "bundle",
    "clone-repos": ".devcontainer/post-create.sh",
    "first-welcome": "sudo echo '\n🌺 Run ./load-workspace.sh to add the other repositories defined in the devcontainer to VS Code. 🌺' >> /workspaces/.codespaces/shared/first-run-notice.txt"
  },
  "postAttachCommand": "bundle exec jekyll serve --livereload"
And now, it automatically reminds you to load everything with a single command on first launch:
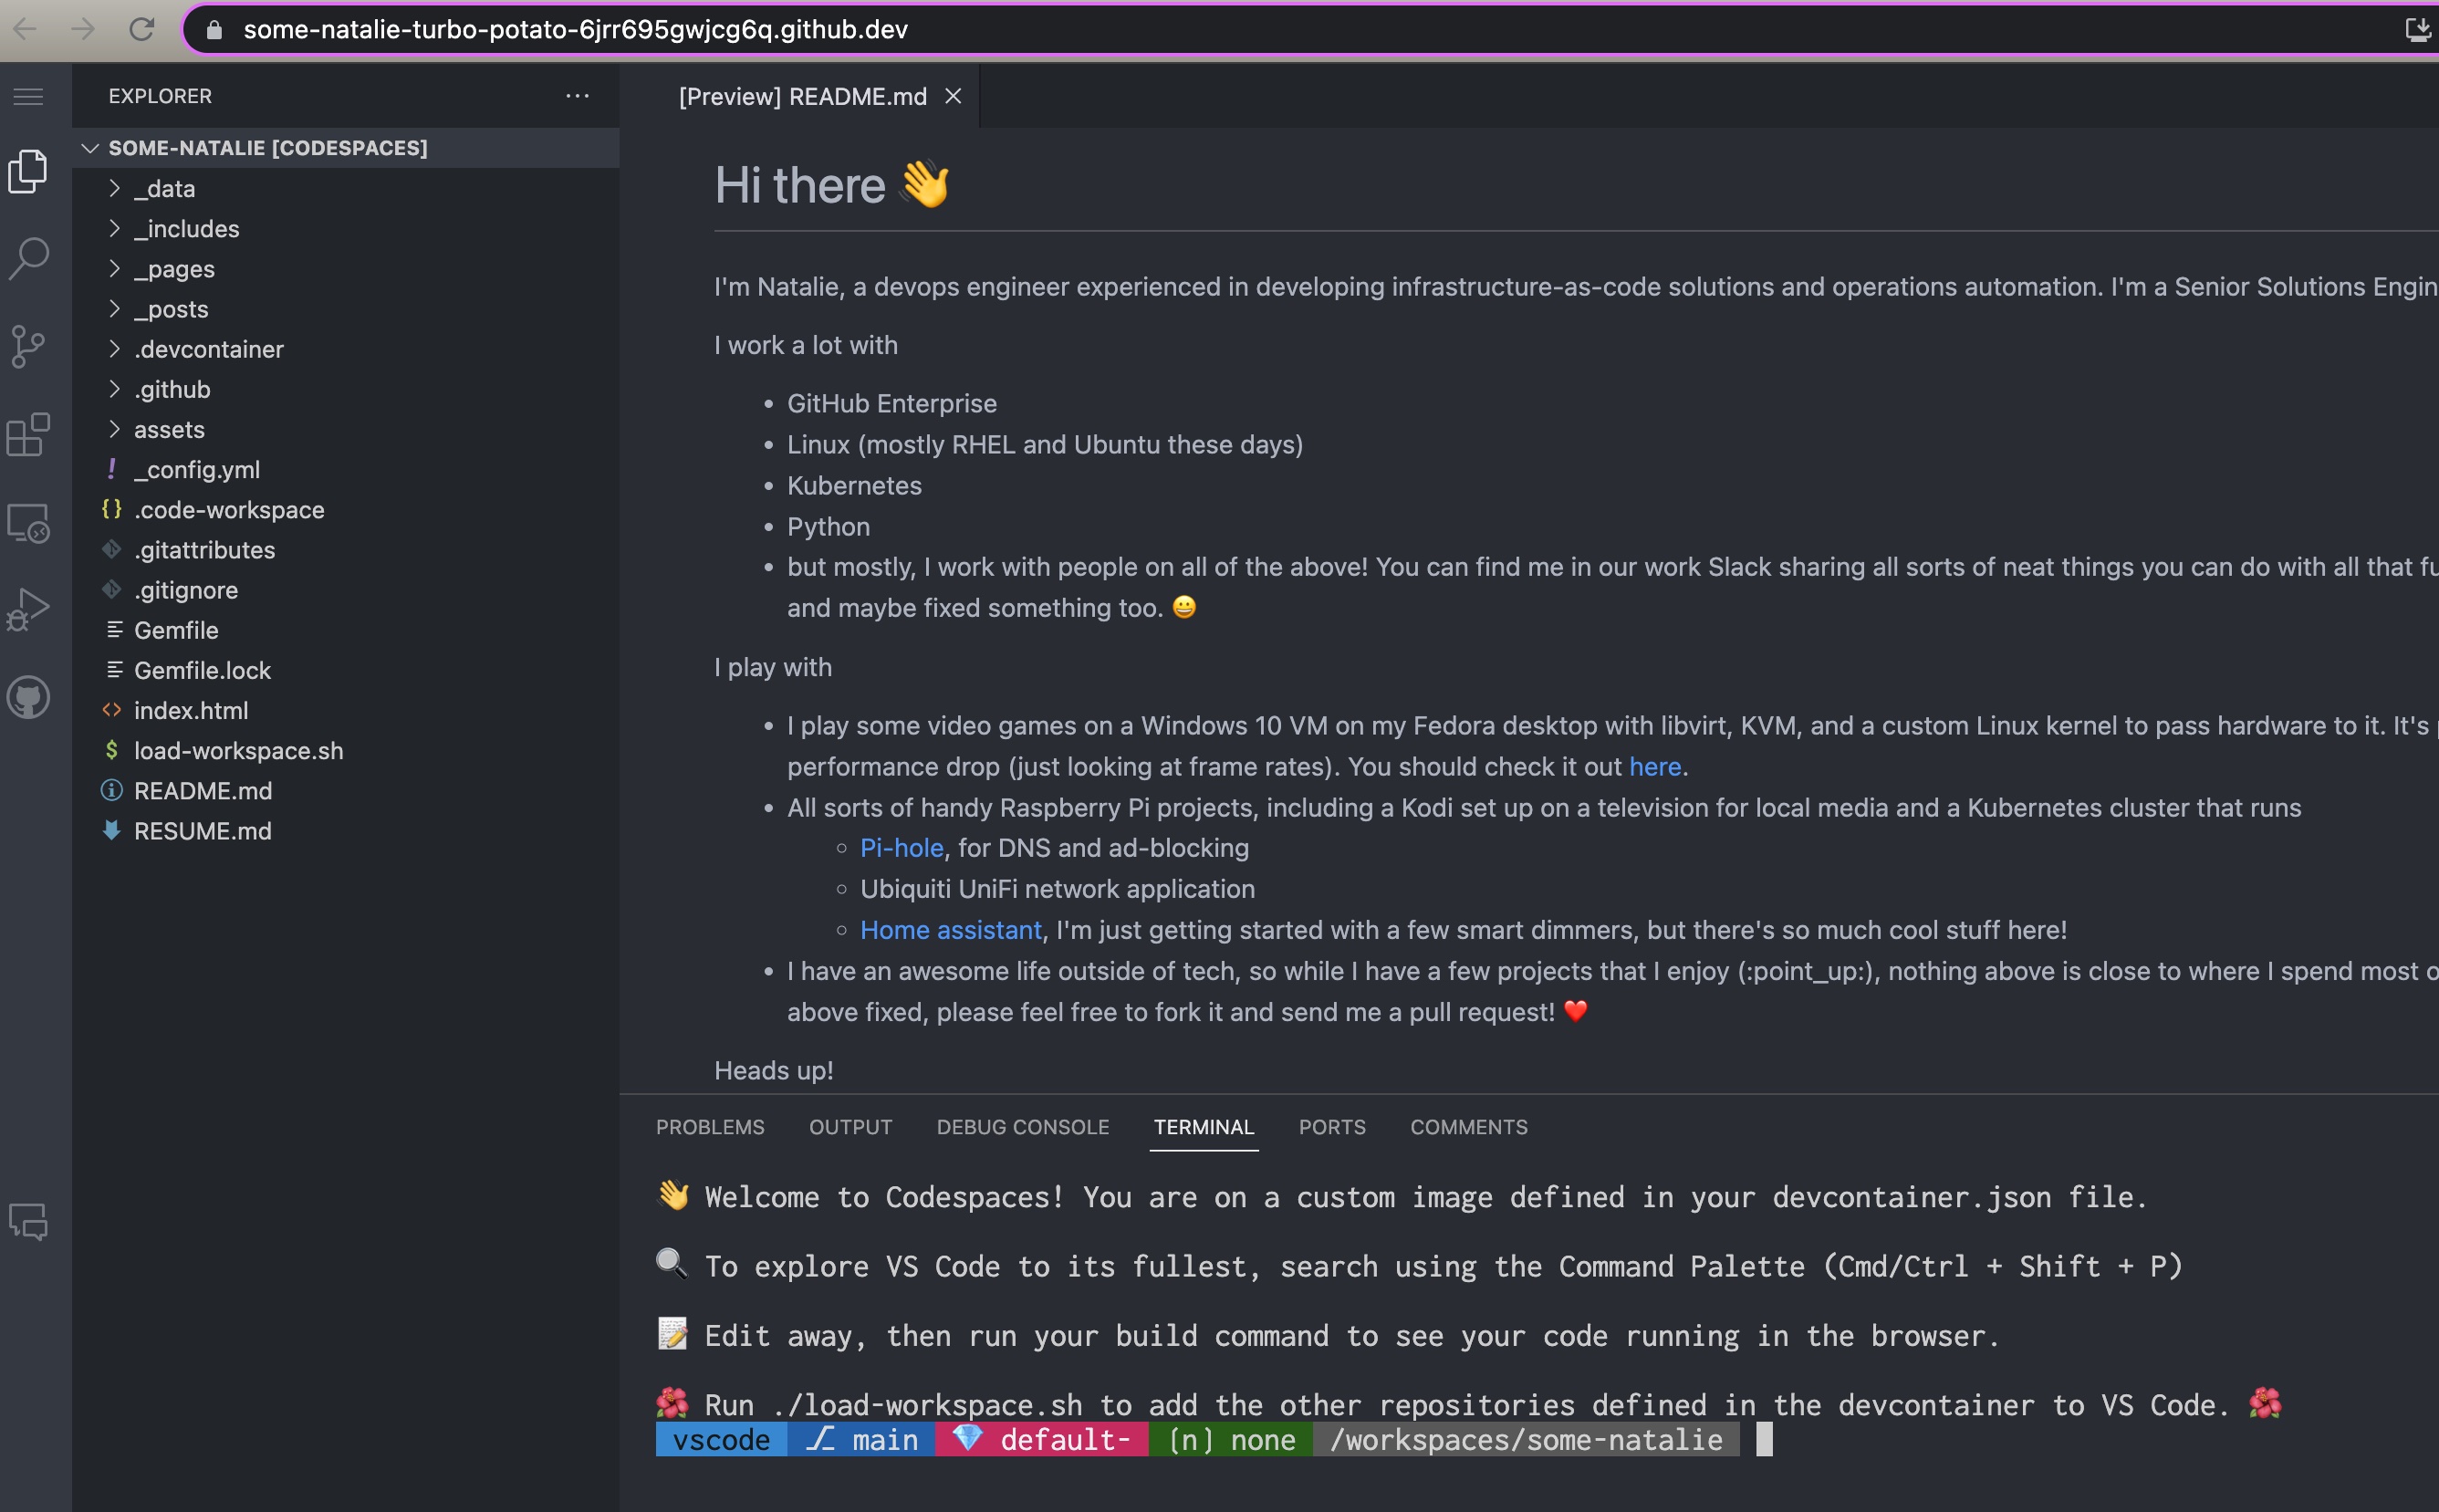
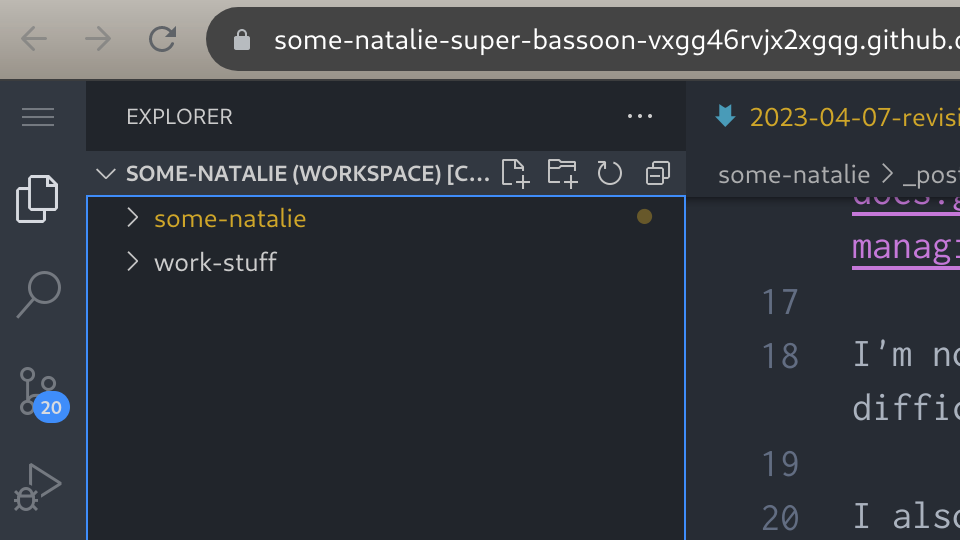
Running that script reloads the Codespace window with both repositories open on launch - the public one and private one! 🎉
If you only want to do this on your local machine without a devcontainer, the following workspace file example should get you started:
1
2
3
4
5
6
7
8
9
10
11

{
  "folders": [
  {
    "path": "."  # public repository and working directory
  },
  {
    "path": "../work-stuff" # private repository
  }
],
  "settings": {}
}
Obsidian for writing
The repository for drafting, collecting thoughts, and other such goodness done in private is also an Obsidian vault kept in sync with the fabulous obsidian-git plugin. To minimize permissions, I use a fine-grained PAT to allow read/write access to the repo contents of the one repository it uses as a remote and that’s it. Since I’m mostly on a single device at any given time for writing, but read from multiple sources, this setup works great.
I add things I learned, struggled through, found inspiring, etc. to that repository. Had I thought about this more in advance, I would have had the site public and repository private. It’d allow for public content, private drafts in folder I exclude in the _config.yml file (but still saved in the repo), and that’d be it.
🤷♀️ Hindsight is perfect and I’m not so mad about it to redo everything.
Website setup note
This website is a free GitHub Pages site, built with Jekyll and a very popular theme (Minimal Mistakes , if you’re interested). I mostly write in Markdown anyways, so being able to mess with the site content and settings together in a Codespace is quite convenient. It’s not like writing a basic blog would ever approach the limit of the free usage entitlement, especially as there’s no want to get too fancy with the site itself. The simplicity is a feature. ♥️
I want to write about some of the neat stuff I build, problems to solve, and establish a public history of being something approaching competent. I’m still not wanting to dive deep into static website generation or other website stuff.
Disclosure
I work at GitHub as a solutions engineer at the time of writing this. All opinions are my own.