A quick and dirty guide to X11 forwarding over SSH
Sometimes you simply need a GUI application on Linux … remotely. Forwarding over SSH feels almost as magical as teleportation. 🪄
I’m studying for an exam that requires Kali Linux . Rather than mess with setting up desktop virtualization on my laptop, I put the VM into a cloud provider. I’m more familiar with running many tools from the command line anyways. It seemed to make good sense until I needed to interact with Windows over RDP. 😡
Here’s how to set up X11 forwarding over SSH to your Mac.
Linux setup
As mentioned, my server is hosted in a large cloud provider. Which one doesn’t matter. Make sure to use the official image out of the marketplace, have it manage your SSH key, and all that goodness as directed by the cloud provider you pick. Once you’ve logged in successfully, here’s the setup:
Edit /etc/ssh/sshd_config and enable the following features:
1
2
3
4

AllowTcpForwarding yes
X11Forwarding yes
X11DisplayOffset 10
X11UseLocalhost yes
Here’s what each configuration means:
-
AllowTcpForwardingwill allow TCP port forwarding, using SSH as a tunnel between your client and the server. -
X11Forwardingwill forward GUI traffic over the connection above. -
X11DisplayOffsetgets a bit weird. Each X11 session gets a number. To prevent conflict with real X11 sessions, we start (offset) at a higher unique session number (10). For a server with no users on a local X11 server, it’s not strictly necessary, but I tend to stick with defaults. -
X11UseLocalhostbinds the forwarding server to the local loopback address, limiting what remote sessions can see and use.
Now edit /etc/ssh/ssh_config to allow the client to request the X11 forwarding that the server makes available:
1
2

Host *
    ForwardX11 yes
In this example, SSH connections from anywhere will have the ability to forward X11 traffic. This isn’t ideal. Specify the hostnames or IP ranges that get this privilege to only the hosts that need it to remain consistent with the Principle of Least Privilege .
Reload the service:
1

sudo systemctl restart sshd
MacOS setup
Install XQuartz , an open-source X11 server for MacOS, from Homebrew . This allows you to see and interact with the GUI application that’s getting tunneled through your SSH connection.
1
2
3
4
5
6
7
8
9
10
11
12

$ brew install --cask xquartz

==> Downloading https://github.com/XQuartz/XQuartz/releases/download/XQuartz-2.8
==> Downloading from https://objects.githubusercontent.com/github-production-rel
######################################################################### 100.0%
==> Installing Cask xquartz
==> Running installer for xquartz with sudo; the password may be necessary.
installer: Package name is
installer: Installing at base path /
installer: The install was successful.
installer: The install requires logging out now.
🍺  xquartz was successfully installed!
Log out of your laptop for it to be available to use on your next login.
To connect to our server, the command to connect over SSH now looks like this:
1

ssh -i ~/.ssh/private-key -p 22 -X kali@ip.add.re.ss
Yuck! I’ll never remember that. Edit ~/.ssh/config to remember all of these options instead.
1
2
3
4
5
6

Host oscp
    User kali
    Port 22
    HostName ip.add.re.ss
    IdentityFile ~/.ssh/private-key
    ForwardX11 yes
Now we can connect to our server with the brief ssh oscp command. 🎉
Using it
Open an SSH connection to your VM and launch your GUI app via the command line. As an example:
1

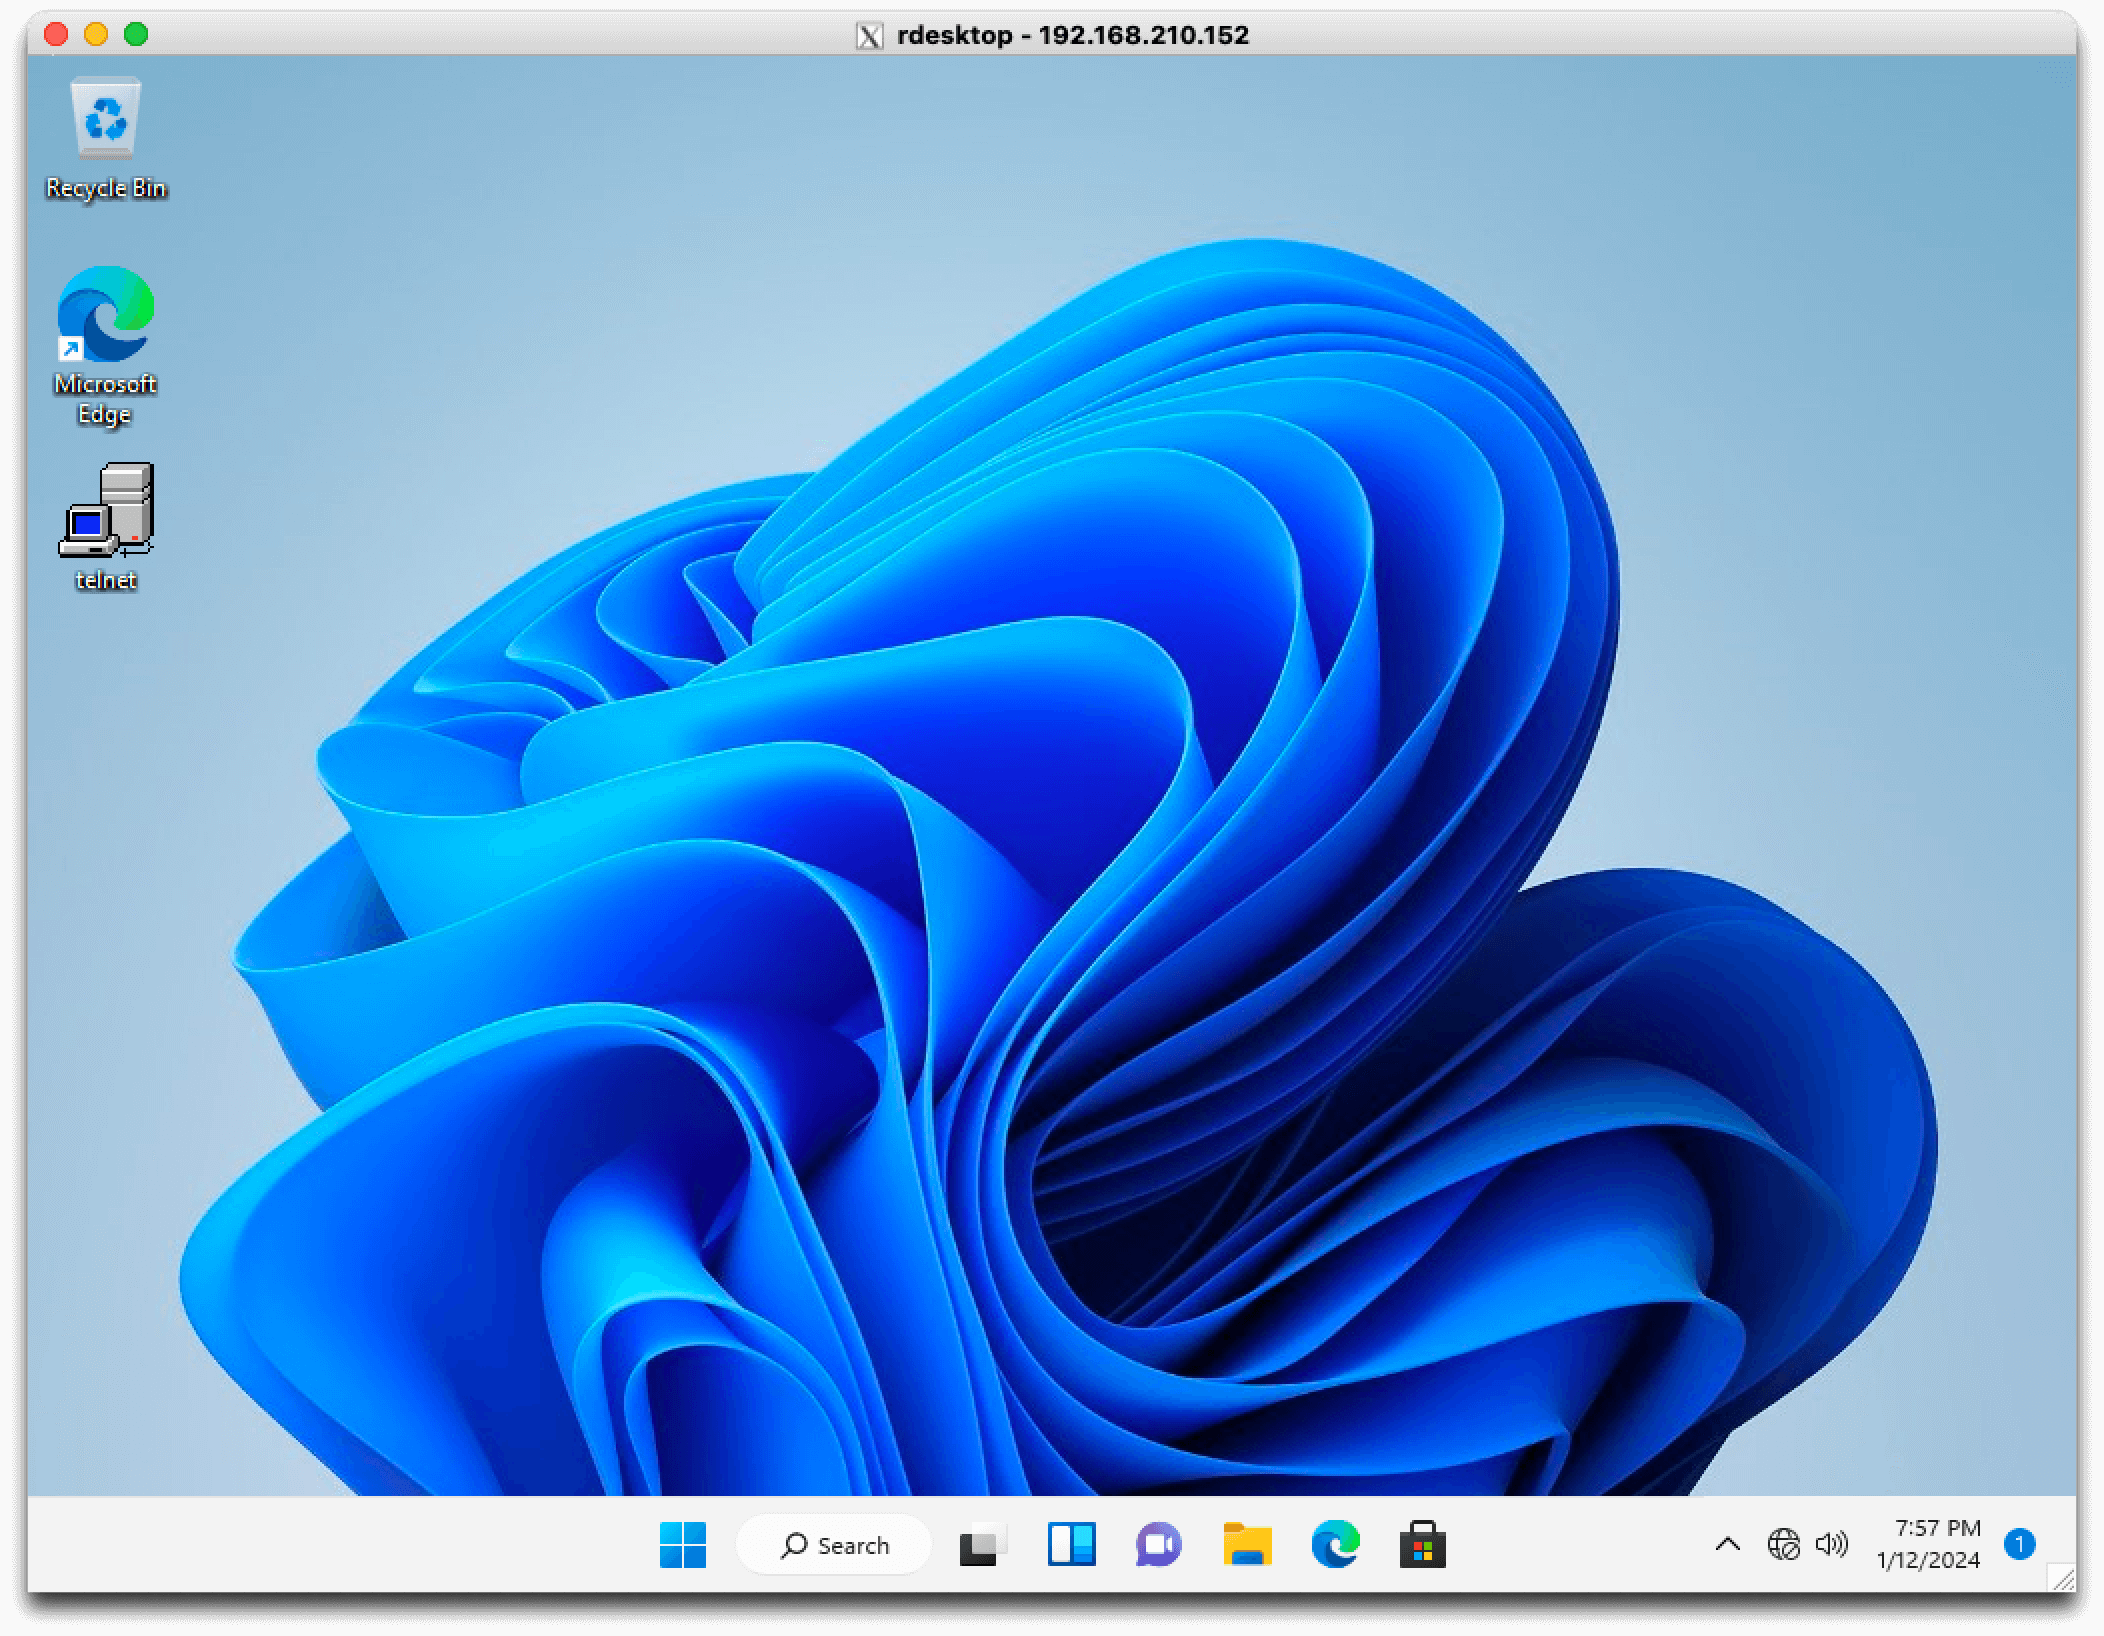
rdesktop -u user -p password 192.168.10.152
 a boring Windows VM in rdesktop
Keep this SSH session open to continue using the application. It will continue to stream info to your terminal. The terminal session should be able to be reused once the app exits. While it’s possible to suppress this behavior by forcing rdesktop (or whatever else) into the background by appending an ampersand (&) to the command, I’ve found it simpler to have multiple terminals open instead.
Use the application as you normally would - it’s magically teleported to your desktop!
Resources 📚
- A Visual Guide to SSH Tunnels: Local and Remote Port Forwarding
- Man pages for everything SSH (well worth the bookmark!)
- sshd (server)
- sshd_config (server configuration)
- ssh (client)
- ssh_config (client configuration)
This was tested on MacOS Sonoma 14.2 and Kali Linux rolling (updated as of publication).
🙏🏼 May this little post save at least one other soul some hours of searching the internet to figure this out.
